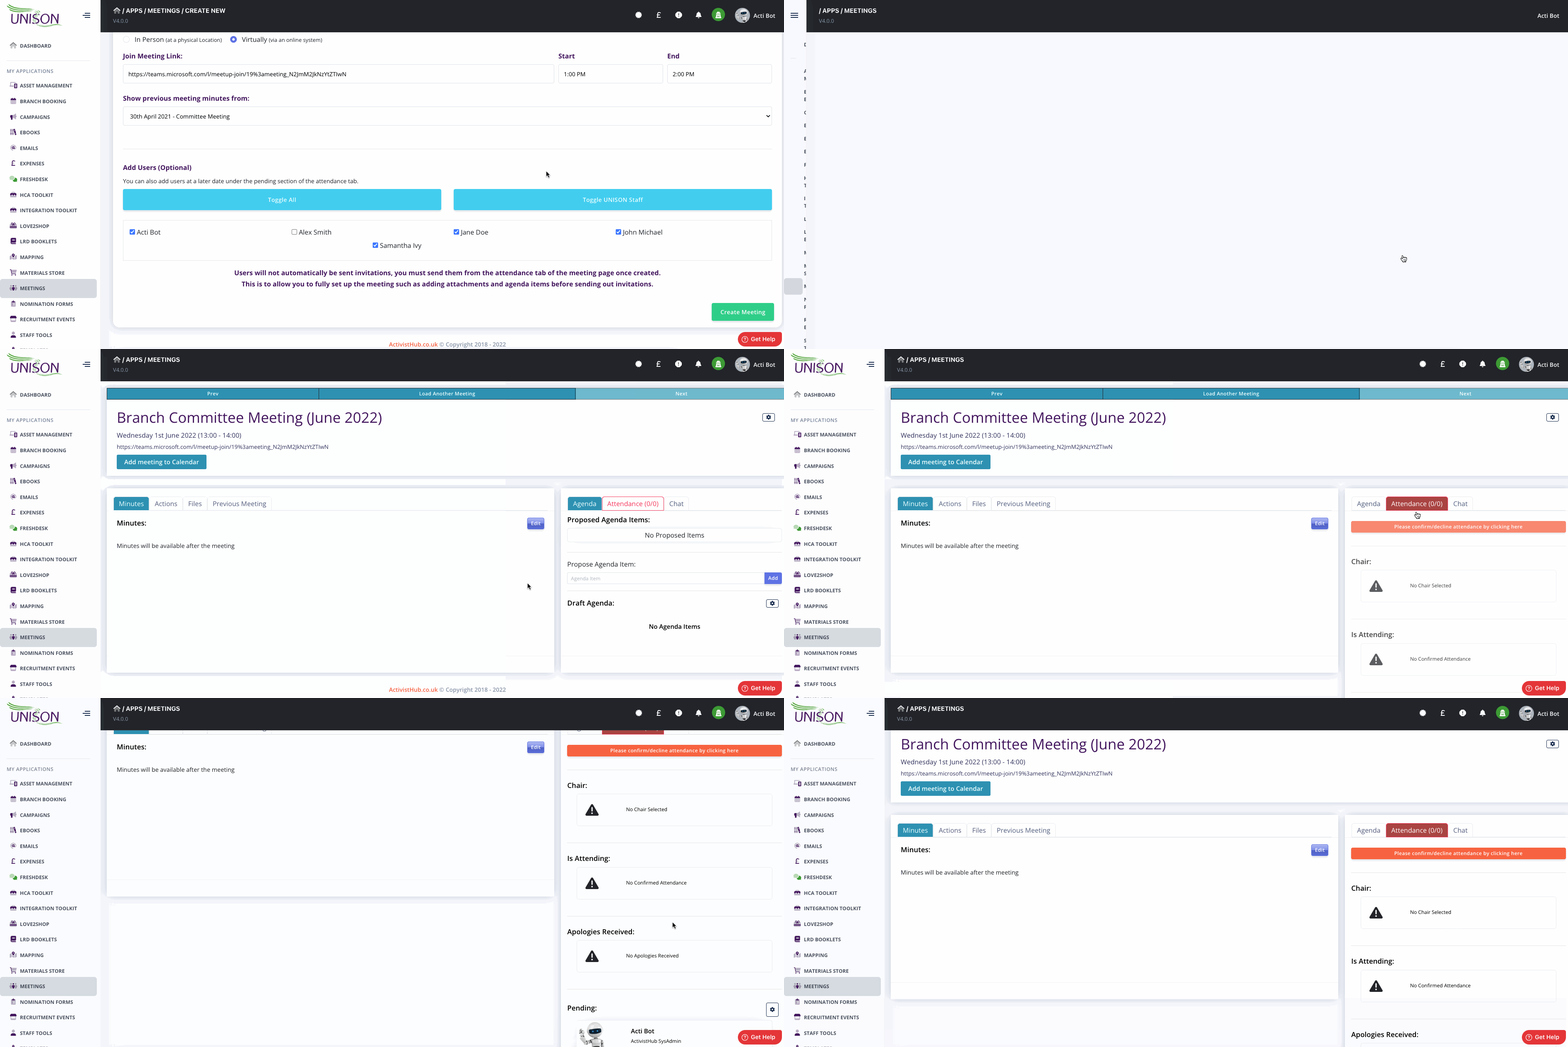
Creating a meeting
Creating a meeting within the ActivistHub requires you to have Admin privileges or have been granted the additional privilege to create meetings by another Admin. If you cant see the create meeting button in stage 3 please discuss this with your branch secretary or your branch ActivistHub champion.
Step 1
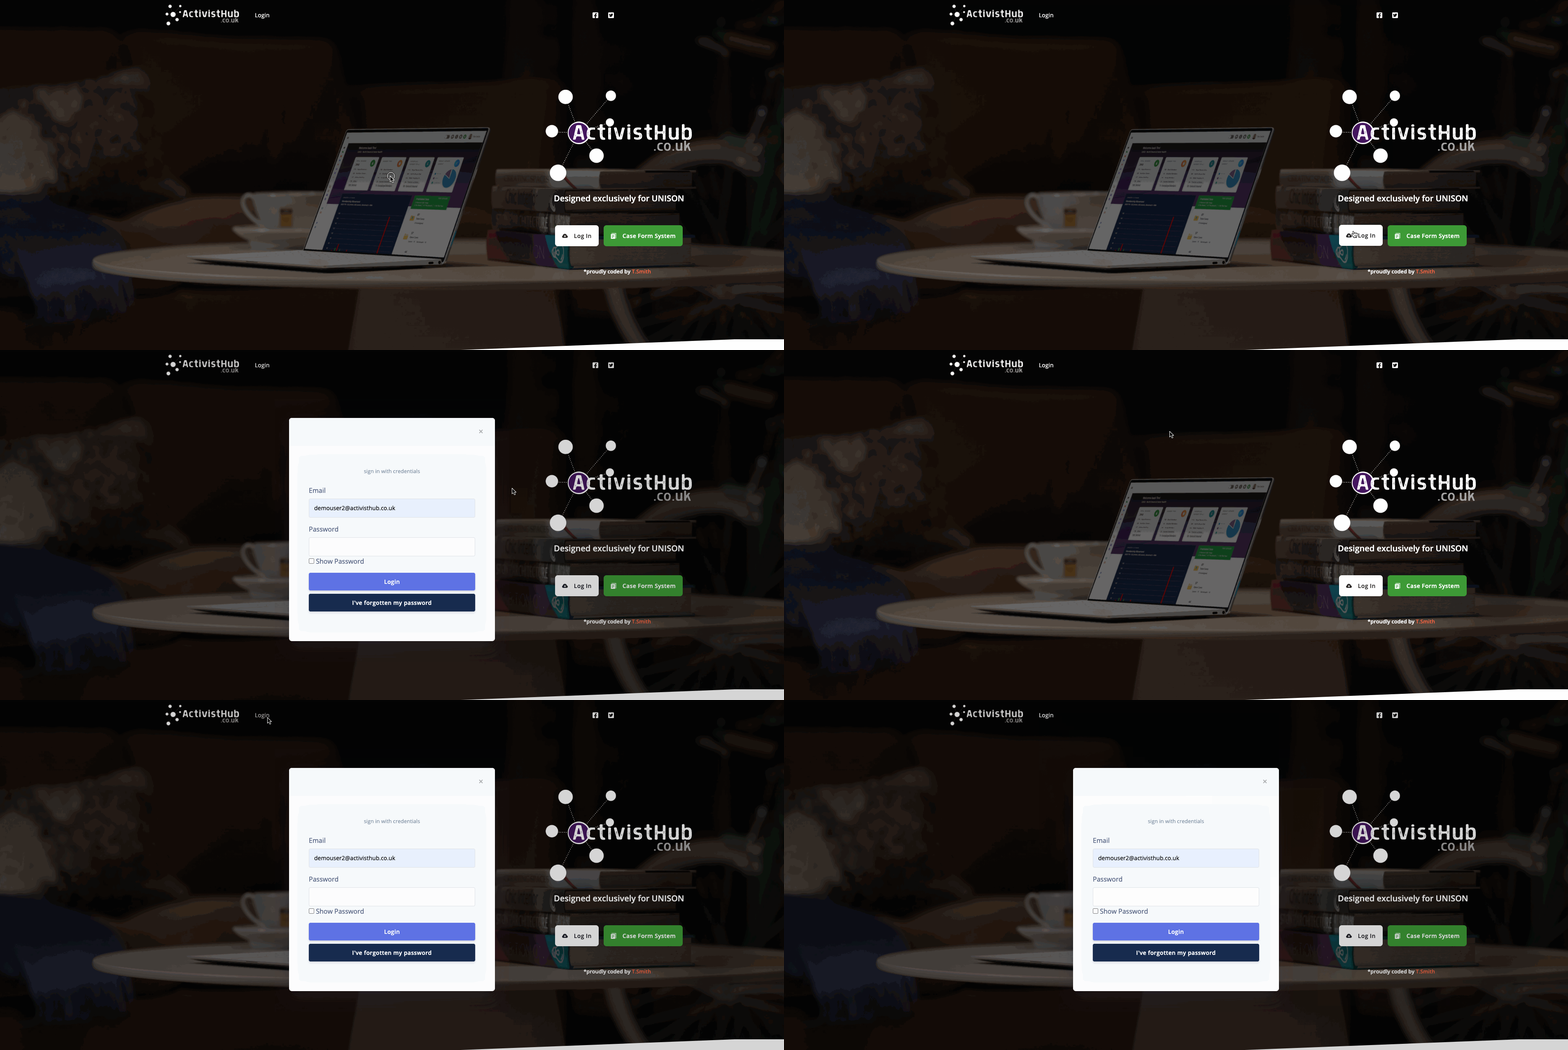
Head to https://www.activisthub.co.uk and Log In as you would normally.
(If you are unsure how to log in follow the instructions HERE)
Step 2
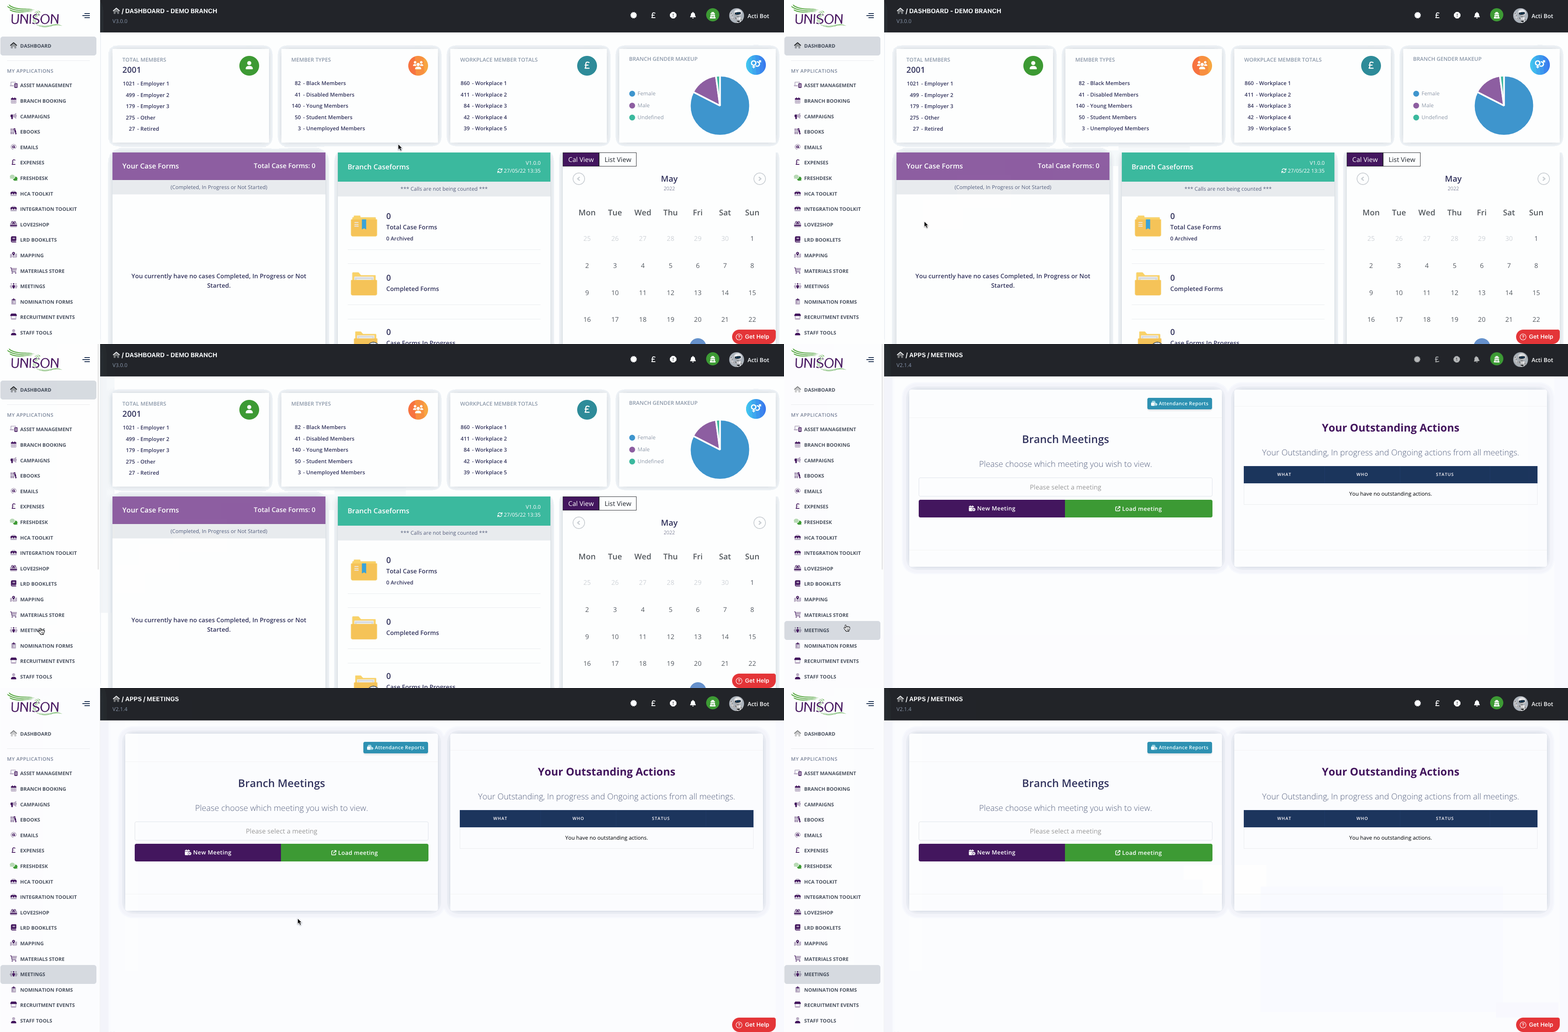
From the left menu choose the “Meetings” application from your “My Applications” list, if you do not see this option then your branch may not have the feature enabled or have disabled the application temporarily.
If the option is there but it is greyed out, this means your branch has the feature enabled but your account has not been given access. Please contact your branch secretary or ActivistHub champion regarding this.
Step 3
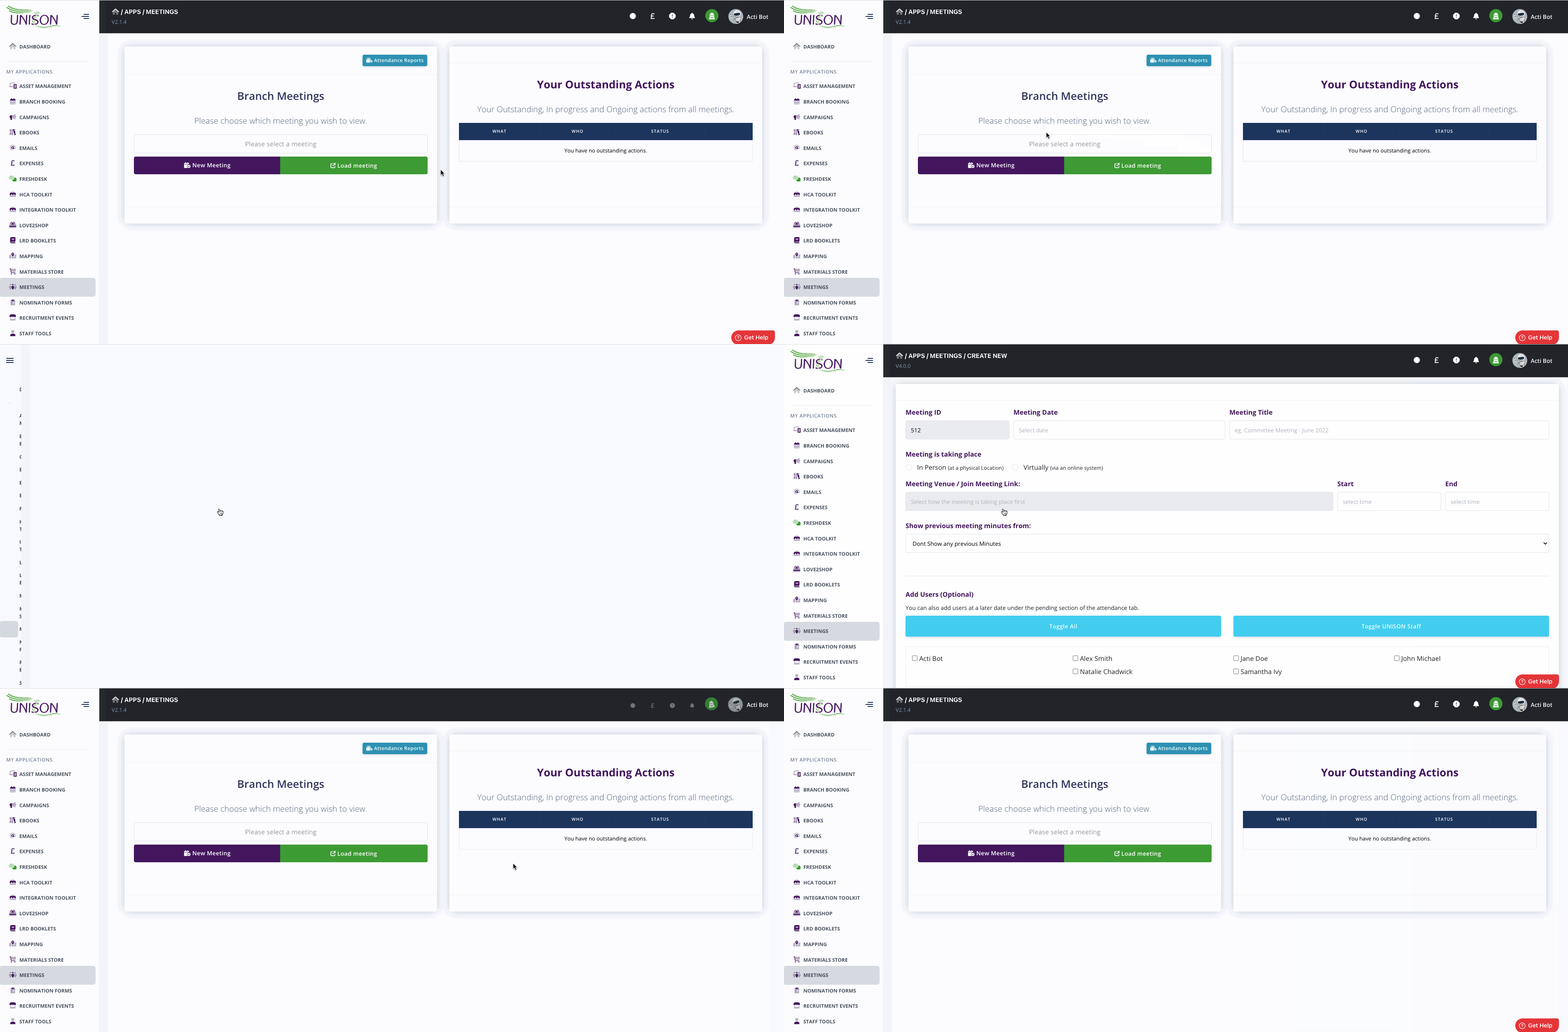
Click ‘New Meeting’ to open the new meeting creation page.
Step 4
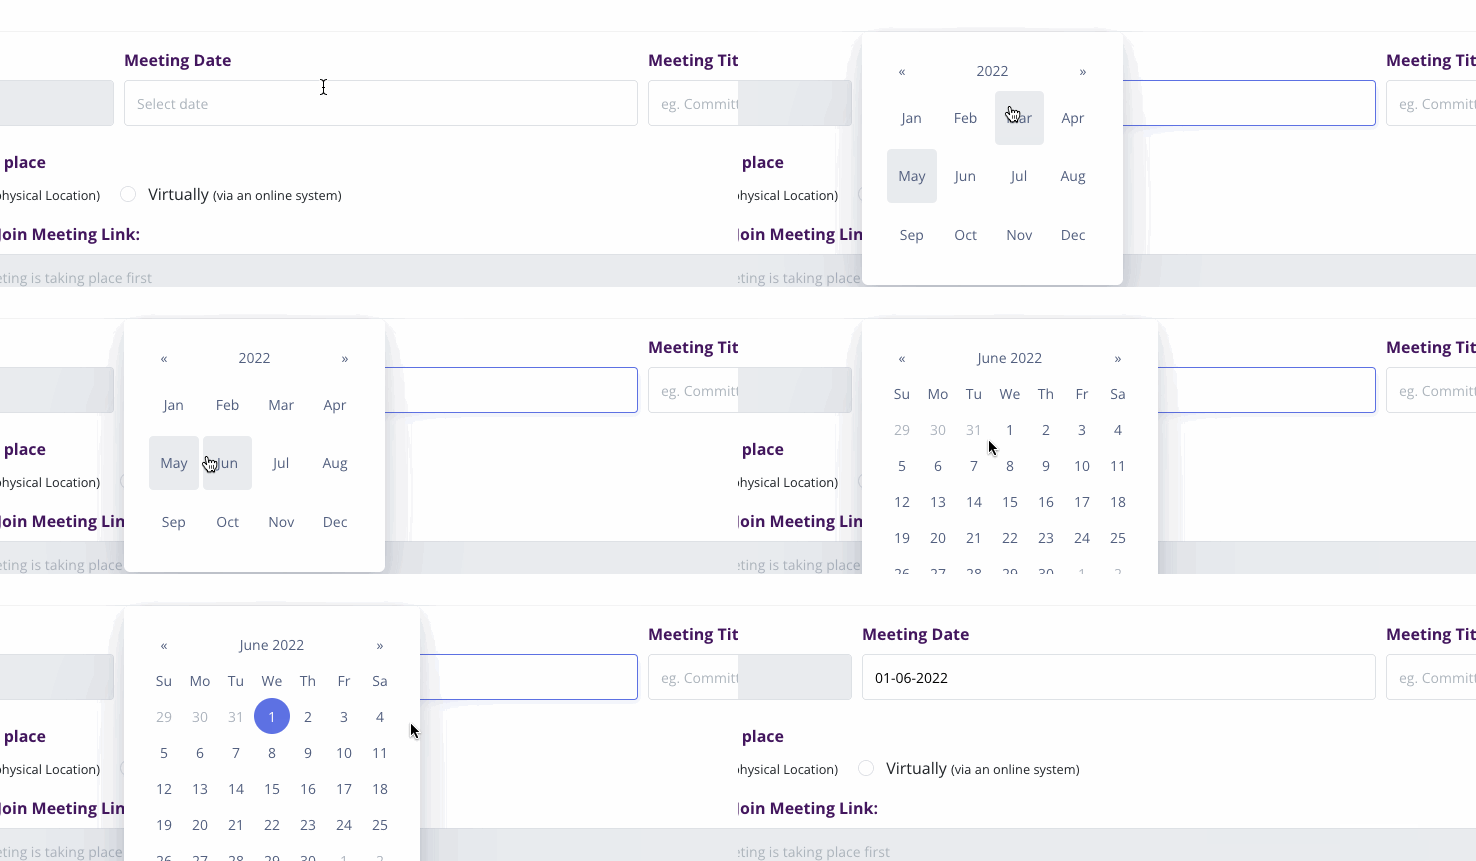
Choose a date for the meeting by clicking the box under Meeting Date and selecting your date from the provided drop-down calendar.
Step 5
Set a title for the meeting and ensure this accurately reflects the purpose of the meeting. eg. Branch Committee Meeting (June 2022)

Step 6
Next, we need to choose how the meeting is taking place and then input either the location of the meeting or the link to join if it's taking place virtually.

Step 7
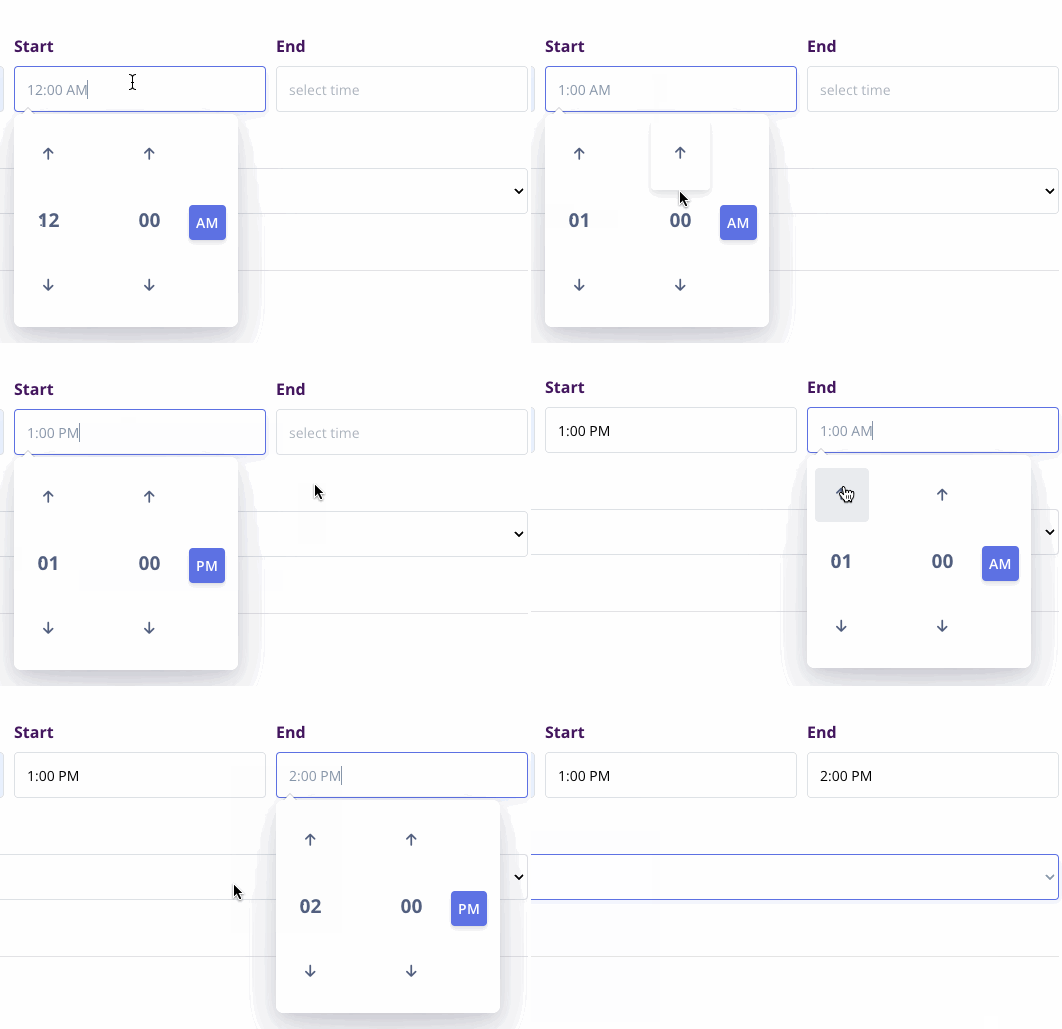
Now we need to enter the time of the meeting, this meeting is taking place from 13:00 - 14:00, the drop-drown time choices are in 12-hour format so I need to enter 01:00 and choose PM then 02:00 and choose PM again. Alternatively, if you prefer to tab through the form, you can type the time in 24-hour format into the boxes and it will automatically change to the 12-hour format.
Step 9
We're almost done, the next step is to choose which (if any) of the previous meetings took place before this one. This will automatically display the minutes and any outstanding actions on a tab called “Previous meeting” (this can be selected/changed at a later date)

Step 8
The last task is to choose who is expected at the meeting, every active user from your branch is displayed here, you can choose to ‘Toggle All’ or select them individually. If your branch has set up Categories you will have the option to toggle users within those categories to make things easier. In this example Im expecting everyone except for Alex to attend so I click ‘Toggle All’ and then deselect Alex.

Step 8
That's it! you've entered all the info needed to create the meeting, now all you need to do is click the green “Create Meeting” button. You will then be taken to the newly created meeting where you can finish setting it up by adding Agenda Items, adding attachments, bringing over outstanding actions from previous meetings and sending your invitations to users.
